
Besides the wood cladding technique, you can also consider one of the most unique ways to add accent to your home interiors is by creating textured walls.
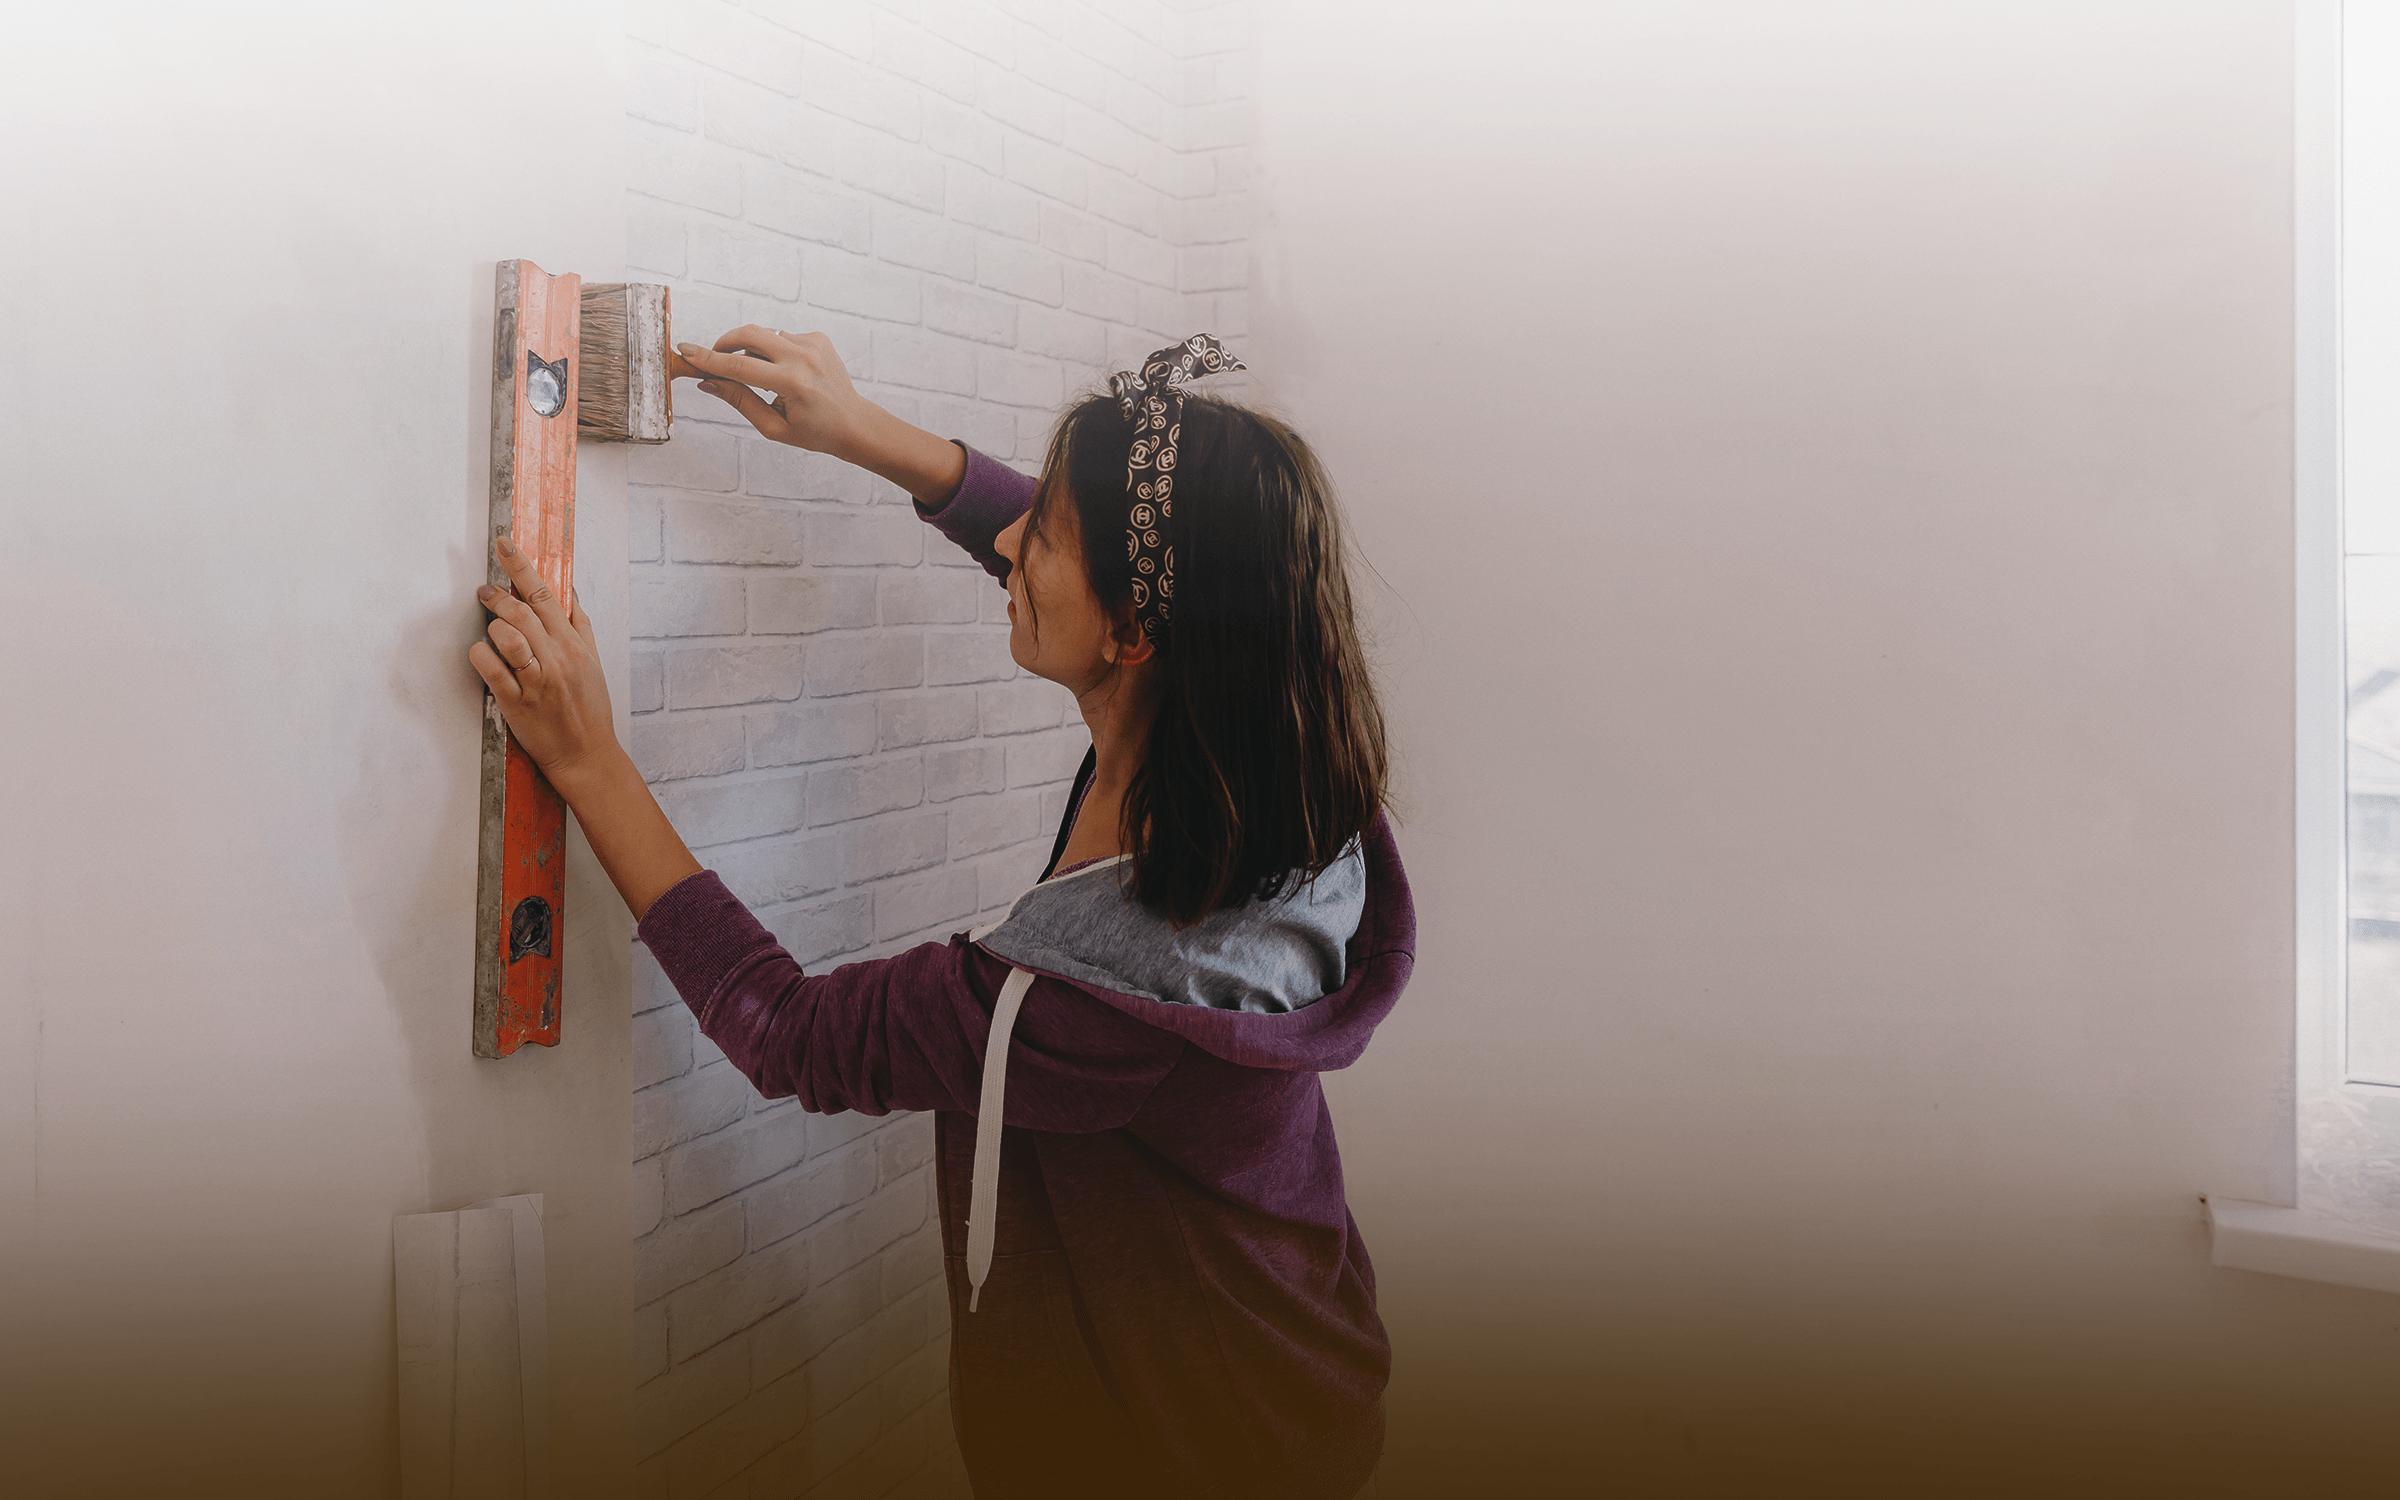
Textured walls can be a great way to add visual interest and depth to a room. They can also help to hide imperfections in the wall surface. However, textured walls can also be difficult to clean and maintain. But with these recommended DIY hacks and tips, you can create a beautifully textured wall in your condo unit in Philippines like a pro.
What are Textured Walls?
Textured walls are walls that have a rough or uneven surface. They are created by applying a special type of primer or drywall compound to the wall and then texturing it using a variety of techniques.
You can also find different types of textured walls, each with its own unique look and feel. Some popular textured wall finishes include:
- Orange peel. This is one of the most popular wall texture finishes. Orange peel texture is created by applying drywall compound to the wall in a random pattern and then stippling it with a sponge or brush. The result is a wall with a pebbly or orange-peel-like appearance.
- Popcorn. This is another popular textured wall finish. Popcorn texture is created by applying drywall compound to the wall in a thick layer and then spatter it with a sprayer. The result is a wall with a bumpy or popcorn-like appearance.
- Stucco. This is created by applying a mixture of sand, lime, and water to the wall. It is then smoothed out and textured using a variety of techniques. Stucco can give a wall a smooth, rustic, or even modern appearance.
- Knockdown. A knockdown texture is created by applying drywall compound to the wall in a thick layer and then knocking it down with a trowel or putty knife. The result is a wall with a random pattern of peaks and valleys.
- Slap brush. This wall finish is created by applying drywall compound to the wall in a thick layer and then brushing it with a stiff brush. The result is a wall with a random pattern of swirls and lines.
- Venetian plaster. This textured wall finish is created by applying a mixture of lime, sand, and water to the wall. It is then smoothed out and textured using a variety of techniques. Venetian plaster can give a wall a smooth, luxurious, or even antique appearance.
- Spanish lace. This is created by applying a mixture of sand, lime, and water to the wall. It is then smoothed out and textured using a lace-like pattern. Spanish lace can give a wall a unique and elegant appearance.
- Sprayed sand. This type of textured wall finish is created by spraying sand onto the wall. The sand can be applied in a variety of patterns to create a unique look. Sprayed sand can give a wall a modern, rustic, or even tropical appearance.
- Comb. This textured wall finish is created by using a comb to create lines in the drywall compound. The lines can be straight, wavy, or even random. Comb textured walls can give a wall a modern, rustic, or even whimsical appearance.
How to Create a DIY Textured Wall?
Apparently, achieving a perfect textured wall finish can be challenging especially if you are not an expert. But if you want a more practical way to elevate your wall interiors, consider a DIY textured wall using shims.
Shims are thin, flat, tapered wedges that are inserted between the wall studs and the drywall mud or other finish material to fill in any gaps and create smooth, even textured surfaces. You can also find two main types of shims, which are wood and plastic. Using wood as shims is an inexpensive investment and easy to find. But if you prefer shims more resistant to moisture, plastic sheets are a good choice.
Here’s how to create a DIY textured wall using shims.
Choose the right shims.
Shims have a variety of sizes and materials. For a textured wall, you will need to use shims that are the same thickness as the drywall compound you will be using. You will also need to use shims that are made from a material that will not warp or shrink over time. Wood shims are a good option for textured walls and ceilings.
Plan your pattern.
Before you start attaching the shims to the wall, take some time to plan your pattern. You can sketch out your design by using a pencil and paper. Or, you can use a ruler and a level to mark out a grid on the wall.
Attach the shims to the wall.
Once you have your pattern planned, you can start attaching the shims to the wall. Use a level to make sure that the shims are level and evenly spaced. Be sure to cover the floor with drop cloths first.
Apply the drywall compound.
Once the shims are in place, you can start applying the drywall compound. Use a trowel to spread the compound over the shims. Be sure to apply the compound in a thick layer.
Texture the wall.
Once the drywall compound is dry, you can start texturing the wall. There are a variety of ways to texture a wall. You can use a sponge, a brush, or a roller. Experiment with different techniques to find the look you like. Let the wall texture dry, then you can paint or stain it to your desired color.
Ultimately, the decision of whether or not to have textured walls in your home is a personal one. But, ensure to weigh the pros and cons carefully before you come up with a decision.
In the meantime, if you are on the hunt for a new house to pour out your creativity, Asterra has a selection of best value for money condo units, readily available for any home interior design preferences you like.
Contact an accredited Asterra seller or leave a message below for inquiries about Asterra’s condominium for sale in our locations across the country.