
When setting up vinyl flooring in your home, it’s highly likely that seams will come into play. Vinyl rolls typically come in 4-foot, 6-foot, or 12-foot widths, but seldom do these dimensions align seamlessly with your space. This often results in visible seams between sections, which can be an eyesore. Luckily, there are effective strategies to diminish or entirely disguise these seams, whether through sharp utility knife, specialized tools, installation methods, or smart furniture arrangements.
Vinyl sheets and laminate flooring are popular due to their diverse designs and impressive durability, not to mention easy maintenance. However, visible seams can compromise the appeal of these features. While you can undertake DIY installation and adopt tactics to minimize the seam’s prominence, if achieving a flawless appearance is paramount, it might be worth considering professional assistance. Professional sheet vinyl installation typically costs between ₱50 to ₱110 per square foot, ensuring a polished outcome, completely free from seams and flaws and preserving the material’s advantages.
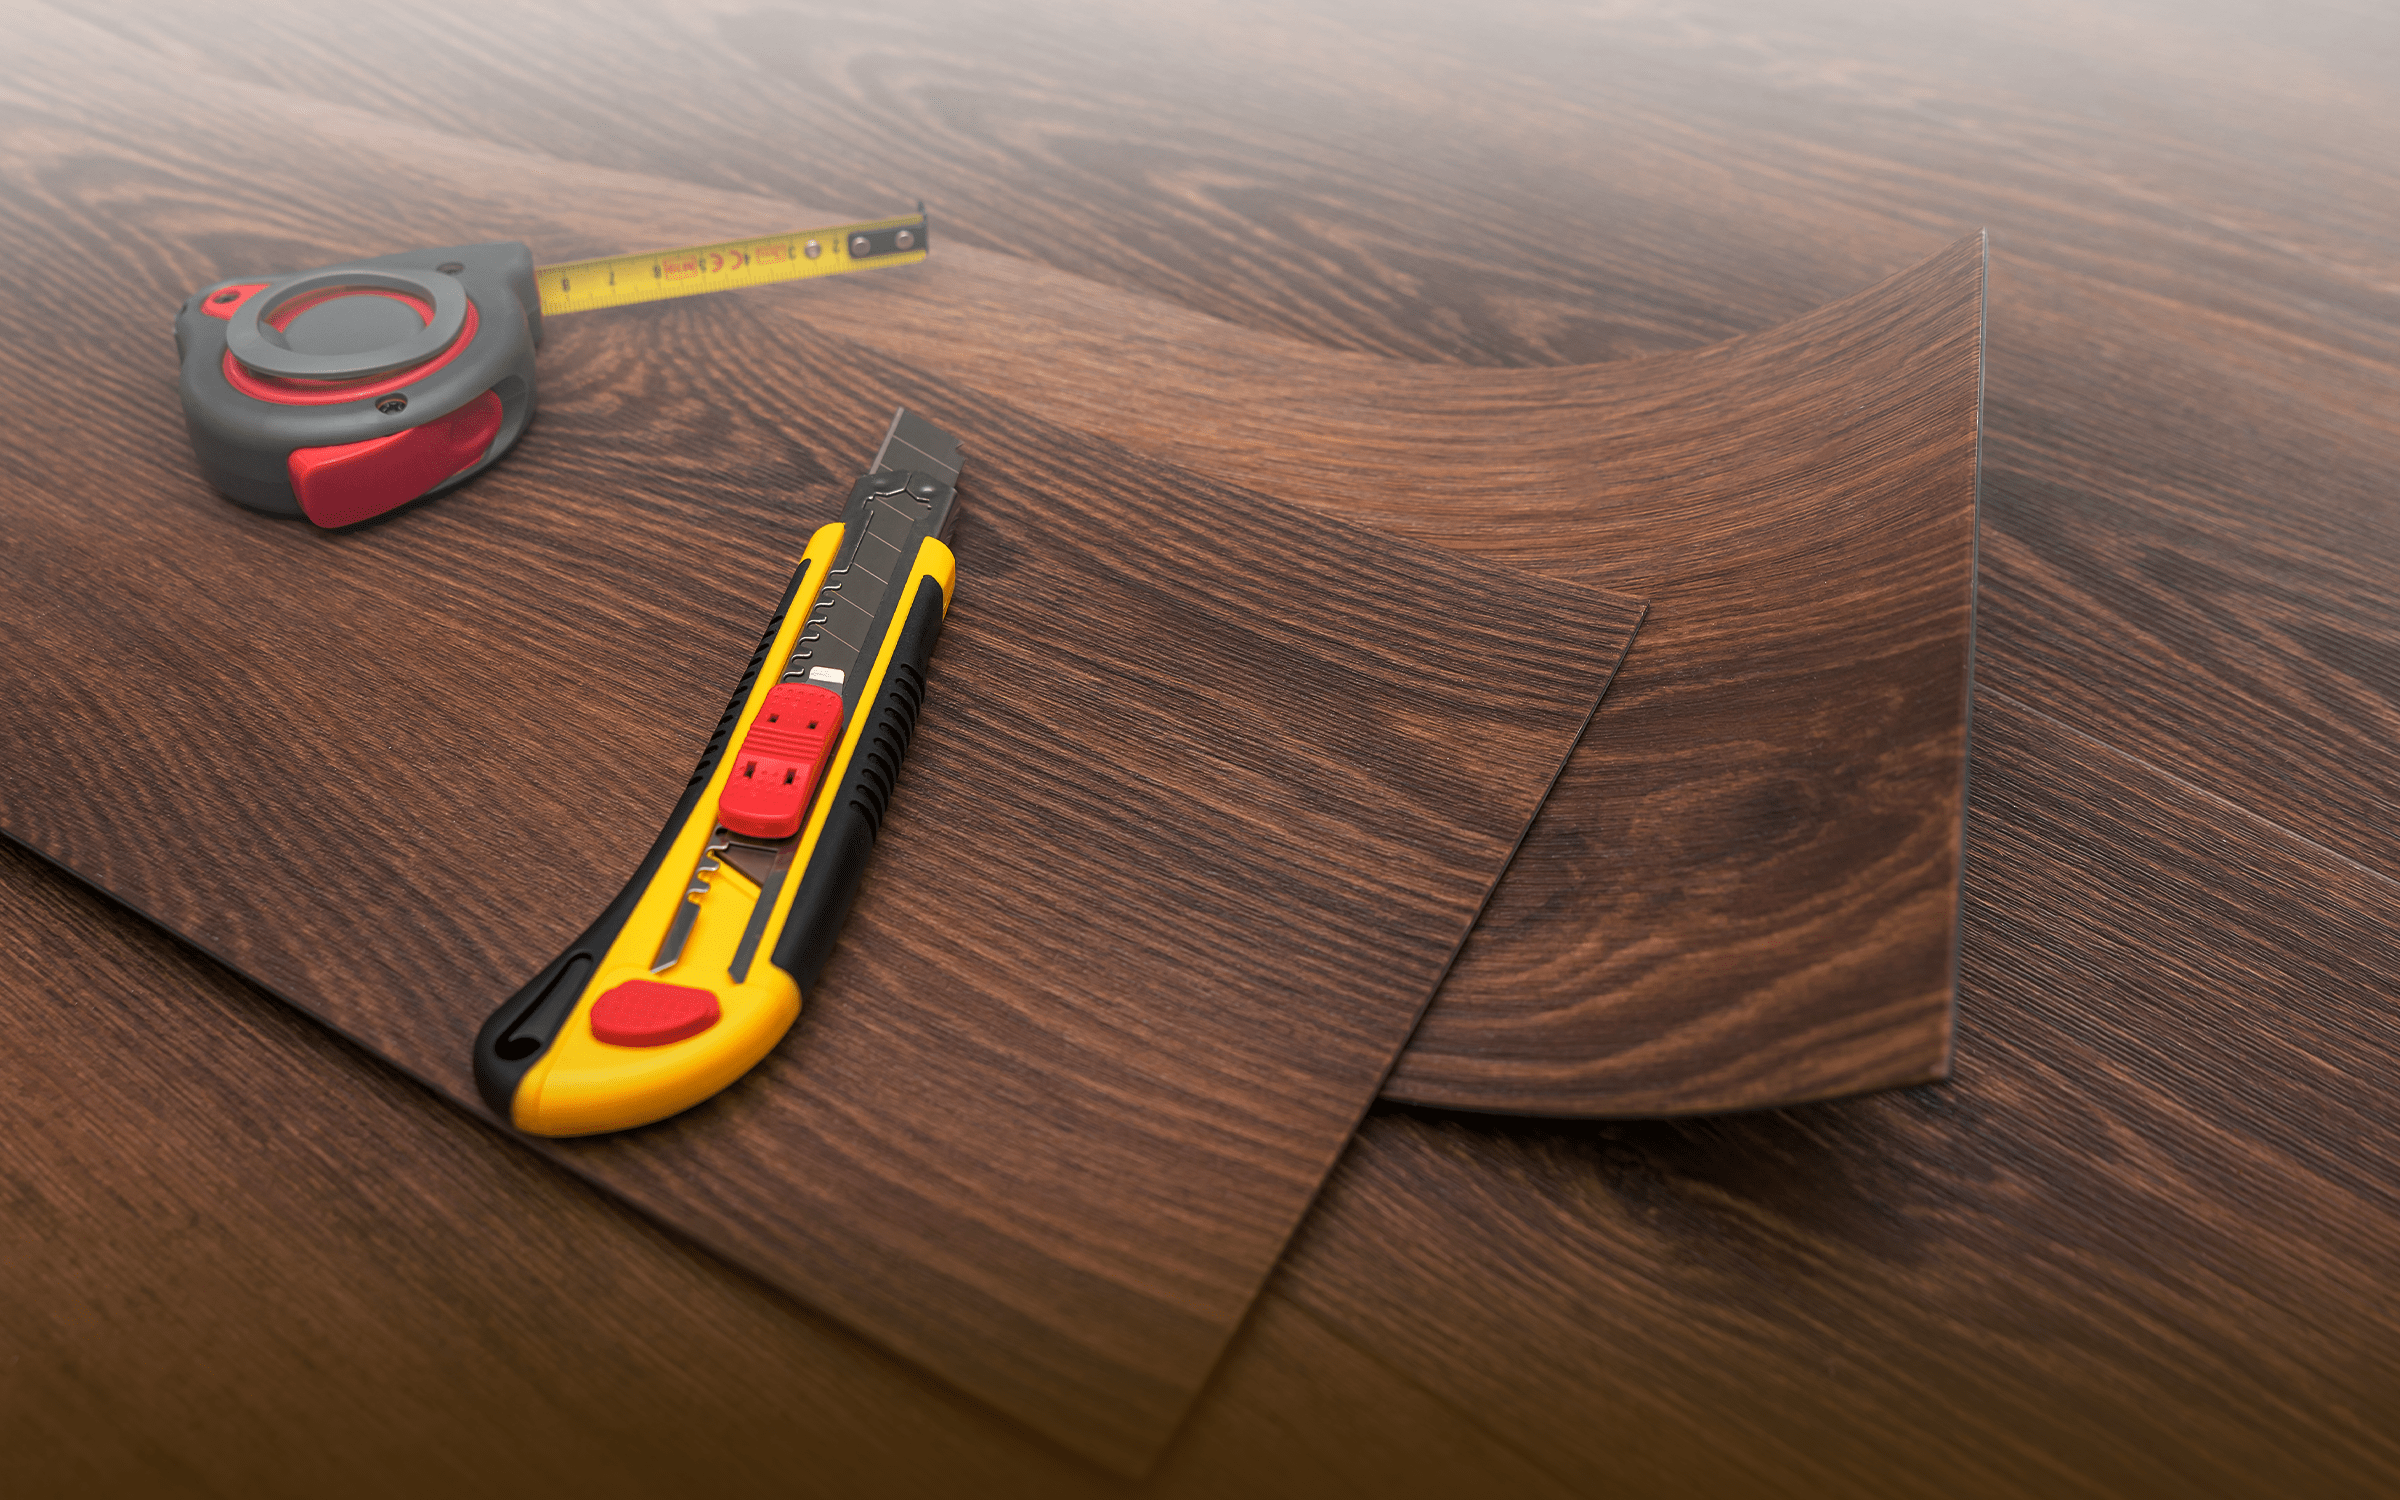
Sealing Vinyl Sheets Seams: A Step-by-Step Guide for a Professional Finish
Creating a seamless and visually pleasing layout with vinyl goes beyond aesthetics – it’s also about establishing a water-resistant barrier. Preventing liquid from seeping between sheets is crucial to ward off potential issues like subfloor damage, unpleasant odors, and mold growth. In essence, the proper handling of seams is pivotal for a successful vinyl flooring installation.
Here’s a simple yet effective process to fix these issues and master seam sealing:
1. Precise Alignment
Begin by placing the two vinyl pieces side by side, and taking the time to meticulously align their patterns. It might seem like a small detail, but even the slightest misalignment can lead to a pronounced seam that catches the eye due to pattern inconsistency. This misstep can undermine the overall appearance of your flooring. A helpful trick, especially when dealing with vertical lines spanning the entire length of the roll, involves cutting both vinyl pieces along these lines. This technique positions the seam directly over the line, effectively camouflaging underneath the joint. This strategy leverages the inherent design elements to your advantage, ensuring the seam flawlessly blends into the pattern.
2. Adhesive Application
To ensure a sturdy and enduring bond, use a roller or brush to apply adhesive specifically designed for vinyl edges. Apply this adhesive onto the subfloor precisely where the two vinyl pieces will meet. As you lay down the vinyl sections side by side, follow the adhesive line closely. While the adhesive is still in its wet state, take advantage of the opportunity to make subtle adjustments. This maneuver allows you to achieve impeccable alignment, ensuring that the seam between two pieces is not just visually harmonious but also structurally secure.
3. Secure Affixing
Employing a seam roller is the next pivotal step. As you firmly press down on the edges of the joined vinyl pieces, using either various heavy object or your hands or feet, you’re solidifying the bond. This pressure ensures that the seam is seamlessly integrated and well-fused with the subfloor. By diligently adhering to this step, you’re guaranteeing that the seam won’t peel away or degrade over time, which is crucial for the long-term integrity of your flooring.
4. Seam Sealing
Taking waterproofing to the next level involves applying a seam sealer product along the edge where the two vinyl pieces meet. This move serves a dual purpose: it further seals the seam, preventing moisture infiltration, and enhances the overall water resistance of the flooring. By creating and installing an extra layer of safeguarding, you’re providing an additional shield against potential liquid damage, thus increasing the longevity of your vinyl installation.
5. Complete Adhesion
With the seam effectively sealed, you’re ready to proceed with the final stage. This involves gluing down the remaining portions of the vinyl to the subfloor. By completing this comprehensive attachment, you’re ensuring a cohesive and enduring connection. This step not only reinforces the initial seam but also guarantees that your entire vinyl sheet remains securely affixed to the subfloor, promoting stability and longevity.
Alternative Approaches to Conceal Vinyl Sheet Seams
When dealing with a loose or unsightly seam in an already-installed vinyl roll, there are additional strategies you can employ to minimize its visibility and temporarily address the issue until a more permanent solution can be implemented.
1. Furniture Placement: Subtle Camouflage
One effective method involves rearranging furniture strategically to divert attention from the seam. By positioning larger pieces like sofas, kitchen table, and chairs over the seam, you’re effectively concealing it. This tactic is particularly useful in high-traffic areas where the seam might be exposed to accidental damage. Placing furniture over the seam not only hides it from view but also helps prevent it from being inadvertently pulled further from the subfloor. However, exercise caution when situating the seam under furniture that might be frequently shifted, as constant movement could worsen the situation.
2. Mindful Traffic Patterns: Seam Placement
If your room has a discernible traffic flow, consider laying the vinyl sheets in a manner that positions the seam away from the primary foot traffic areas. This minimizes the chances of the seam being noticed and mitigates potential damage from continuous footfall. Should it be unavoidable to place the seam within a high-traffic zone, reinforcing its stability is essential. Combine double-sided tape with adhesive to fortify the seam’s adherence and resilience under the added stress of foot traffic.
3. Repairing Loose Edges: Concealment with Precision
If addressing a loose edge is your goal, a corrective approach can be undertaken to render the seam less conspicuous. Begin by gently lifting the affected area, ensuring not to cause further damage. Thoroughly clean the exposed space beneath the loose edge to remove any debris, such as pet hair or dirt. Carefully scrape off any residual old glue to establish a clean surface. To enhance the vinyl’s pliability, employ a hairdryer to warm the edge. This step makes the material more workable and cooperative.
4. Recreating Adhesion: Restoring the Seam
After adequately preparing the vinyl, follow the established steps for re-adhering the seam. Begin by using adhesive to reattach the vinyl securely to the subfloor. Remember to apply pressure and use a seam roller to ensure the bond is firm and resilient. Should you wish to augment the seam’s endurance under stress, consider integrating double-sided tape alongside the adhesive.
In your quest for a flawless vinyl floor, mastering the art of concealing seams is a crucial step. By following these techniques, you’ll not only achieve a visually stunning result but also ensure the long-lasting durability of your vinyl installation. Just as every detail counts in perfecting your living space, every choice matters when it comes to your real estate investments. If you’re considering buying a best value for money condo in Philippines, Asterra offers attractive options that blend affordability, quality, and comfort. Secure your investment and elevate your living experience with Asterra, where the art of seamless living begins. Contact our accredited sellers to learn more about our condominium for sale in your area and our payment terms and options.